Siser Heat Transfer Vinyl is a special type of vinyl that can be applied to fabrics in just a few seconds using a heat press or an iron.
Like regular vinyl, heat transfer vinyl can come in individual sheets or large rolls. You can find Siser HTV in a variety of colors and textures: smooth, flocked, glittery, metallic, printable, even holographic!
We suggest keeping your first heat transfer project a simple one, by working with something easy like a t-shirt that has a big open area, and by cutting P.S. Film – Easyweed, which comes in a lot of colors. You’ll learn the basics and feel more confident when you start experimenting with Glitter, Brick, Stripflock Pro.
The best way to reduce wasted material is to test and adjust your cut settings even when you may be using the same material, but a different color. There can be minor variations from color to color that can effect your cut settings.
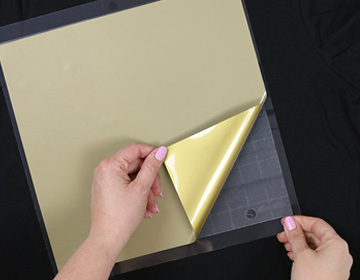
1. Place HTV Glossy Side Down and Matte Side Up
The carrier side goes face down on the cutting mat because we need it to stay intact for heat application. So the duller, adhesive side of the material is the side that gets cut. During heat application the carrier side will be face up. This is why you must always mirror your image and text in your designs before cutting.
2. Align and Load Cutting Mat
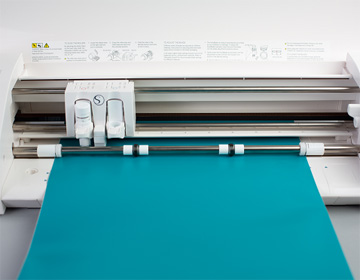
Line up the edge of the cutting mat up with the guideline on the left side. Your mat should now have an equal margin on either side of the pinch rollers.
If your mat slides under the pinch rollers without resistance, they may not be locked in place. Double check the lever on the right of the machine. If it’s turned down, the rollers are not ready for cutting. It should be turned up in the locked position.
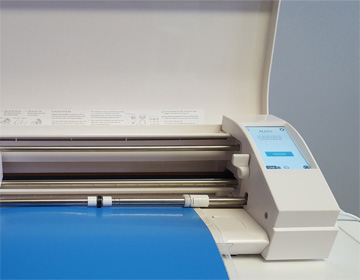
If you’re working with the Cameo 3, press the mat up against the roller bar while pressing “Load” on the touch screen; if you’re working with the Cameo 4, press the white arrow. Cutting Siser HTV without the mat can be done and is helpful when you want to cut a design larger than the mat.
Place the top edge of the cutting mat gently against the rollers and then left edge lined up with the line and arrows on the left side of the machine. Hold it in place with one hand while clicking “Load” or “Load Mat” on the touch screen.
This will pull the mat and HTV under the rollers and into the correct starting position.
3. Use The Test Cut Function in Silhouette Studio
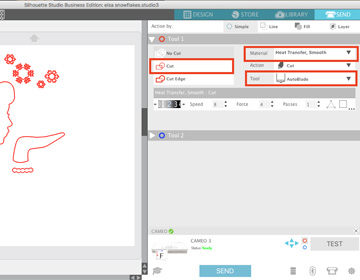
Conveniently, Silhouette Studio has a test cut feature. To find this tool you’ll have to go to the Send window and select Heat Transfer (Smooth, Flocked, or Glitter depending on what you’re working with.) After selecting the material type, you can adjust the Blade, Speed, and Force settings if necessary.
If your machine only has one tool holder then you’re ready to select “Test.” However, the Cameo 3 and 4 are equipped with a dual carriage, so if want to use both blades select the drop down arrow next to the blue circle. Now you can make setting adjustments.
4. Unload the Cutting Mat
After the test cut is completed unload the mat.
5. Weed and Inspect the Test Cut
The Silhouette Cameo will cut a triangle shape inside of a square as the test cut. Weed the triangle first. A good test cut will have visible score marks from the blade.
If the carrier has no cut lines, the cut settings were too low. If the carrier was cut through, the cut settings were too high
6. Adjust the Blade
The Silhouette Cameo 3 and 4 are the only Silhouette machines that use the Auto Blade. This tool eliminates the need to manually adjust the blade depth. However since the Cameo 3 and 4 are equipped with a dual carriage, you can still use the Ratchet Blades. The older versions of the Cameo also use a Ratchet Blade.
To adjust the blade, remove it from the carriage (pull the plastic tab on the Cameo 3 and 4. The Cameo 1 and 2 have a twisting lock).
Then fit the blade into the adjustment socket. Align the white arrow on the socket with the red dash on the blade holder and twist until you’ve reached your desired blade depth.


